There’s more to installing your own flooring than the actual laying of the floor itself. Preparing the subfloor, dealing with floor transitions and, today’s topic, removing baseboards are all skills you will need if you plan to do the work yourself. As ever, we recommend that you get a couple of free estimates from local contractors to give yourself a clear idea of the cost and time advantages (or disadvantages) of a diy installation.
How to Remove Baseboard
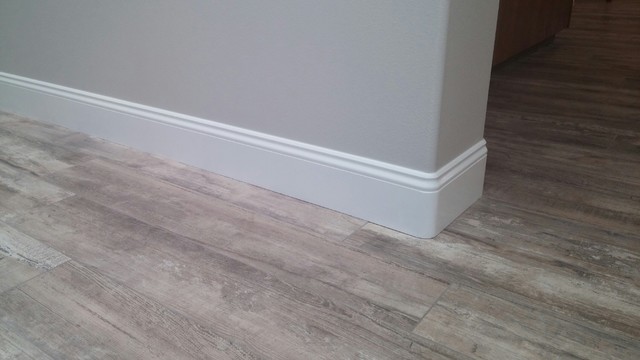
We’ll assume that you will reuse the baseboard once you’ve installed your new flooring. If you’ve got new baseboard planned, you can be much more aggressive in tearing out the old. Here’s how to remove baseboard without damaging the wall or the trim.
Tools for removing baseboard:
- Utility knife
- Trim puller or small prybar
- Claw hammer
- Pliers
- Permanent marker
Follow these step-by-step baseboard removal instructions for a quick, easy job.
Step One: There’s a good chance the painted drywall is stuck to the baseboard trim, and it will tear if not cut first, creating a patch-and-paint task. Instead, score the wall using the utility knife. Hold it at a slight downward angle, so that the cut you make into the wall will be behind the baseboard when reinstalled.
Step Two: Start near a corner, and insert the teeth of the prybar or trim puller behind the top edge of the baseboard. It might require a light tap from a hammer or mallet. Gently rotate the handle downward to pry the baseboard away from the wall from that point to the next fastener. A common mistake is to push the handle toward the wall to force off the board. That technique will dent the wall above where the baseboard will cover requiring more patching and painting!
Step Three: This step is for those planning to reuse the baseboard. When a full piece of baseboard comes off the wall, number the back of it with the marker for easier re-installation.
Step Four: Move to the next nail, and pry the baseboard off it. In most cases, the nail will remain secure in the stud and its head will pull through the baseboard. Repeat the techniques of removing and numbering pieces until all the baseboard is off.
Step Five: Use the claw hammer or pliers to remove the old nails (preferred) or drive them into the studs so that the head is not left sticking up at all.
Remember that you will be replacing the baseboards after you have installed your flooring so you will need new nails and quite possibly more paint for retouching damaged paint work. If after removing the baseboards you find that they are damaged in anyway then now would be a good time to buy and install new baseboards as they aren’t expensive.


